
Creating a Large Floral Logo for MasterCard: A Step-by-Step Guide
Designing a large floral logo can be a fun and satisfying project. One such project we recently undertook was creating a large floral logo for MasterCard. Here are the steps we took to bring this project to life.
1. Cutting the Logo Shape: We started by cutting out the logo shape from two 24" x 24" Styrofoam sheets. This provided a solid base for our floral design.
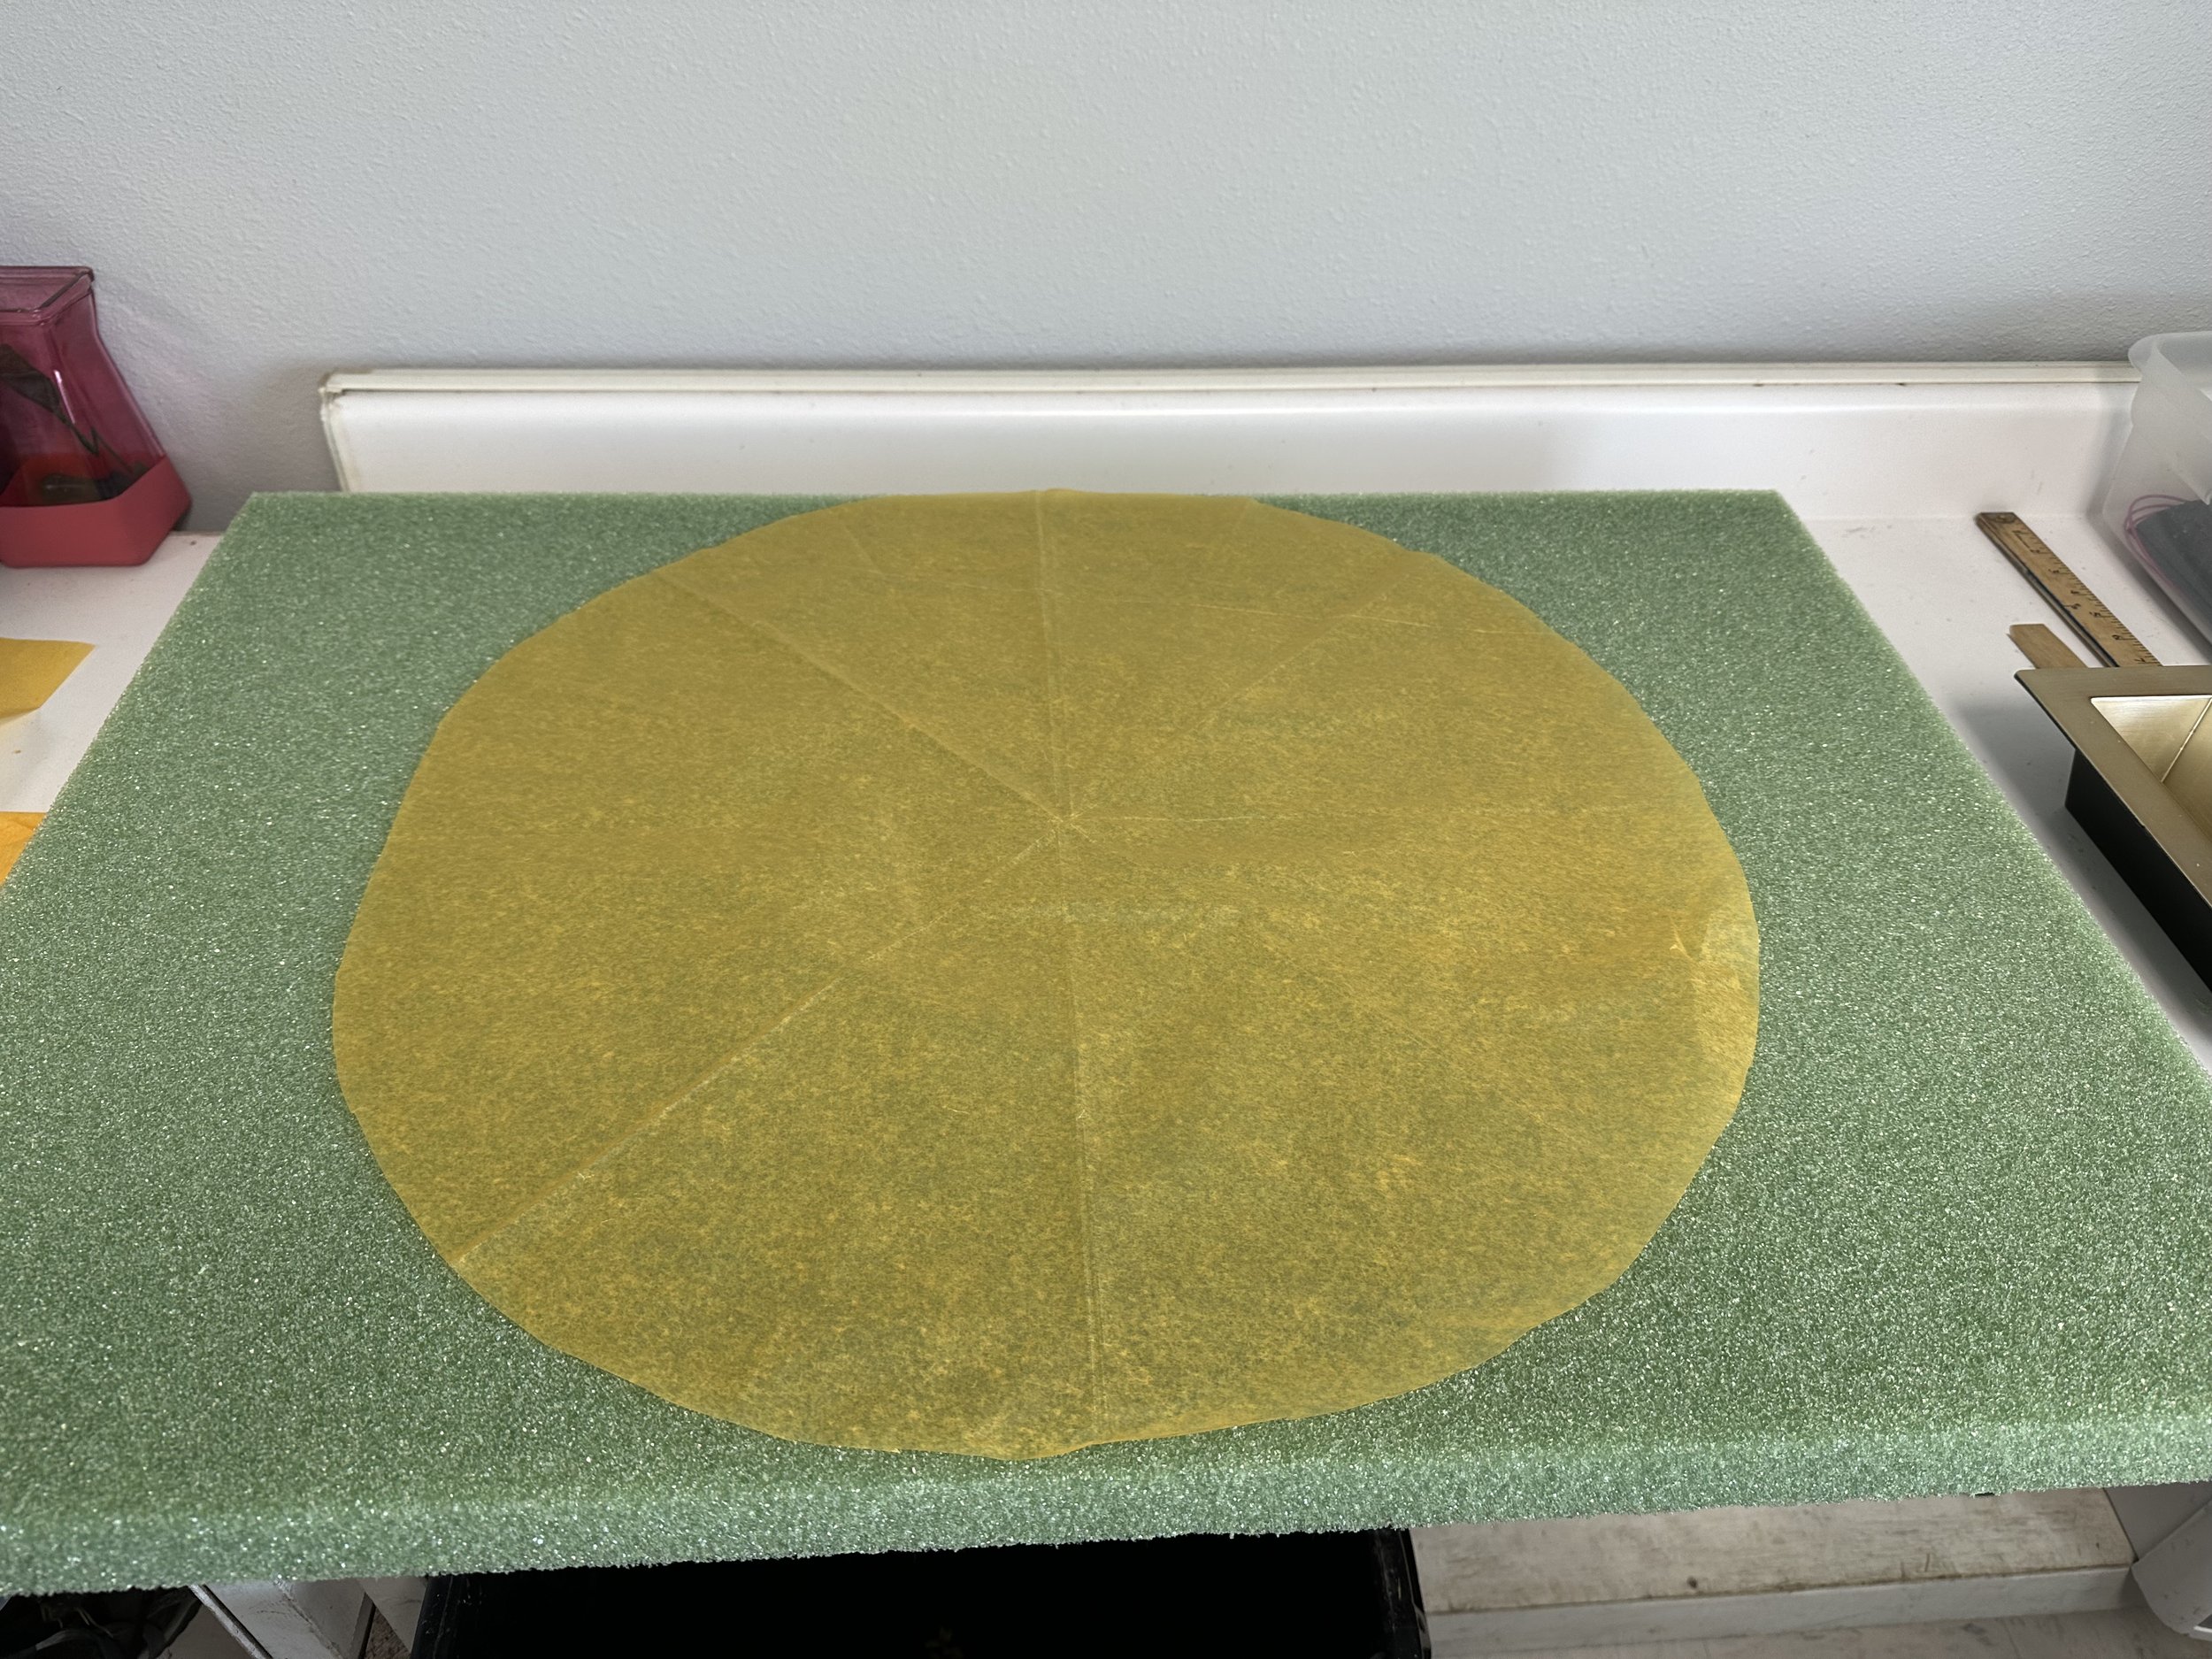

2. Securing the Pieces: Next, we attached the two pieces securely using a 6" strip of Styrofoam in the back. This ensured that our logo would hold together, even with the weight of the flowers.
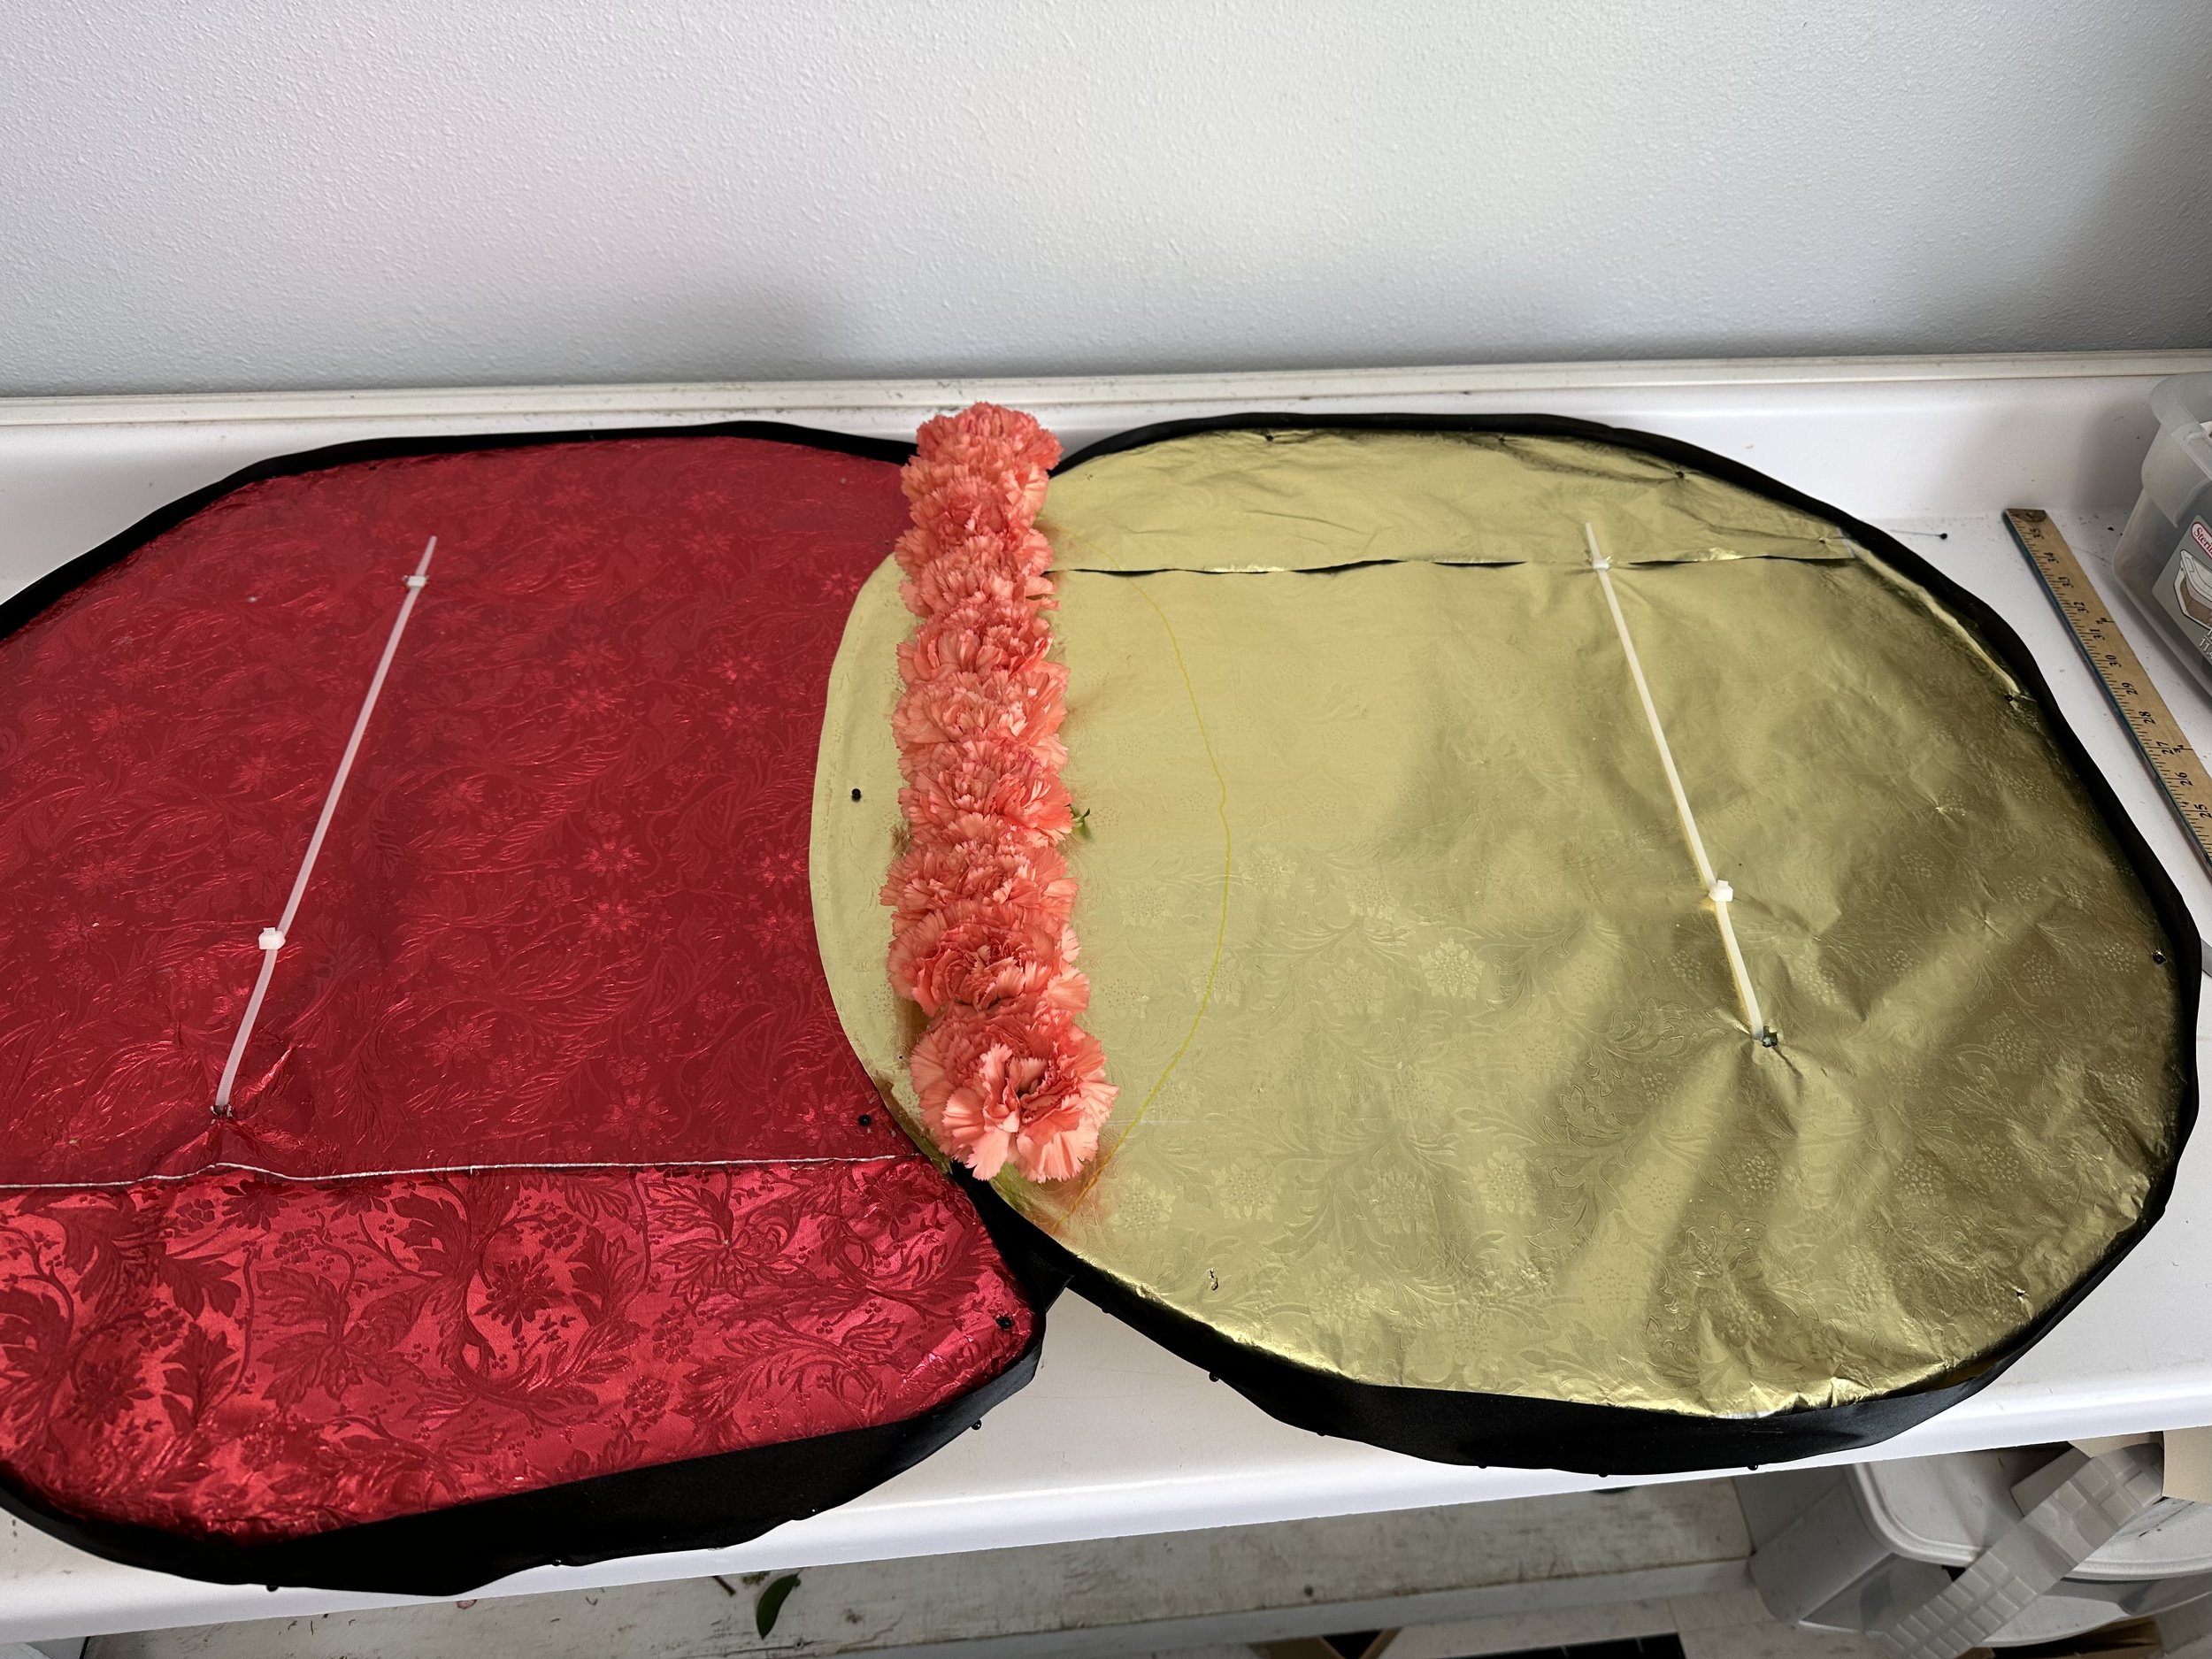
3. Covering the Front: We then covered the front of the Styrofoam with polyfoil. We chose colors that matched the MasterCard logo to maintain brand consistency.

4. Preparing the Flowers: We decided to use carnations for our floral logo. To prepare them, we cut the heads off the carnations. The number of flowers you'll need will depend on the surface area to be covered. You can calculate this by dividing the surface area of your logo by the surface area of the flower.
5. Inserting the Flowers: We inserted a toothpick into the back of each carnation. This made it easy to insert the carnations into the styrofoam.
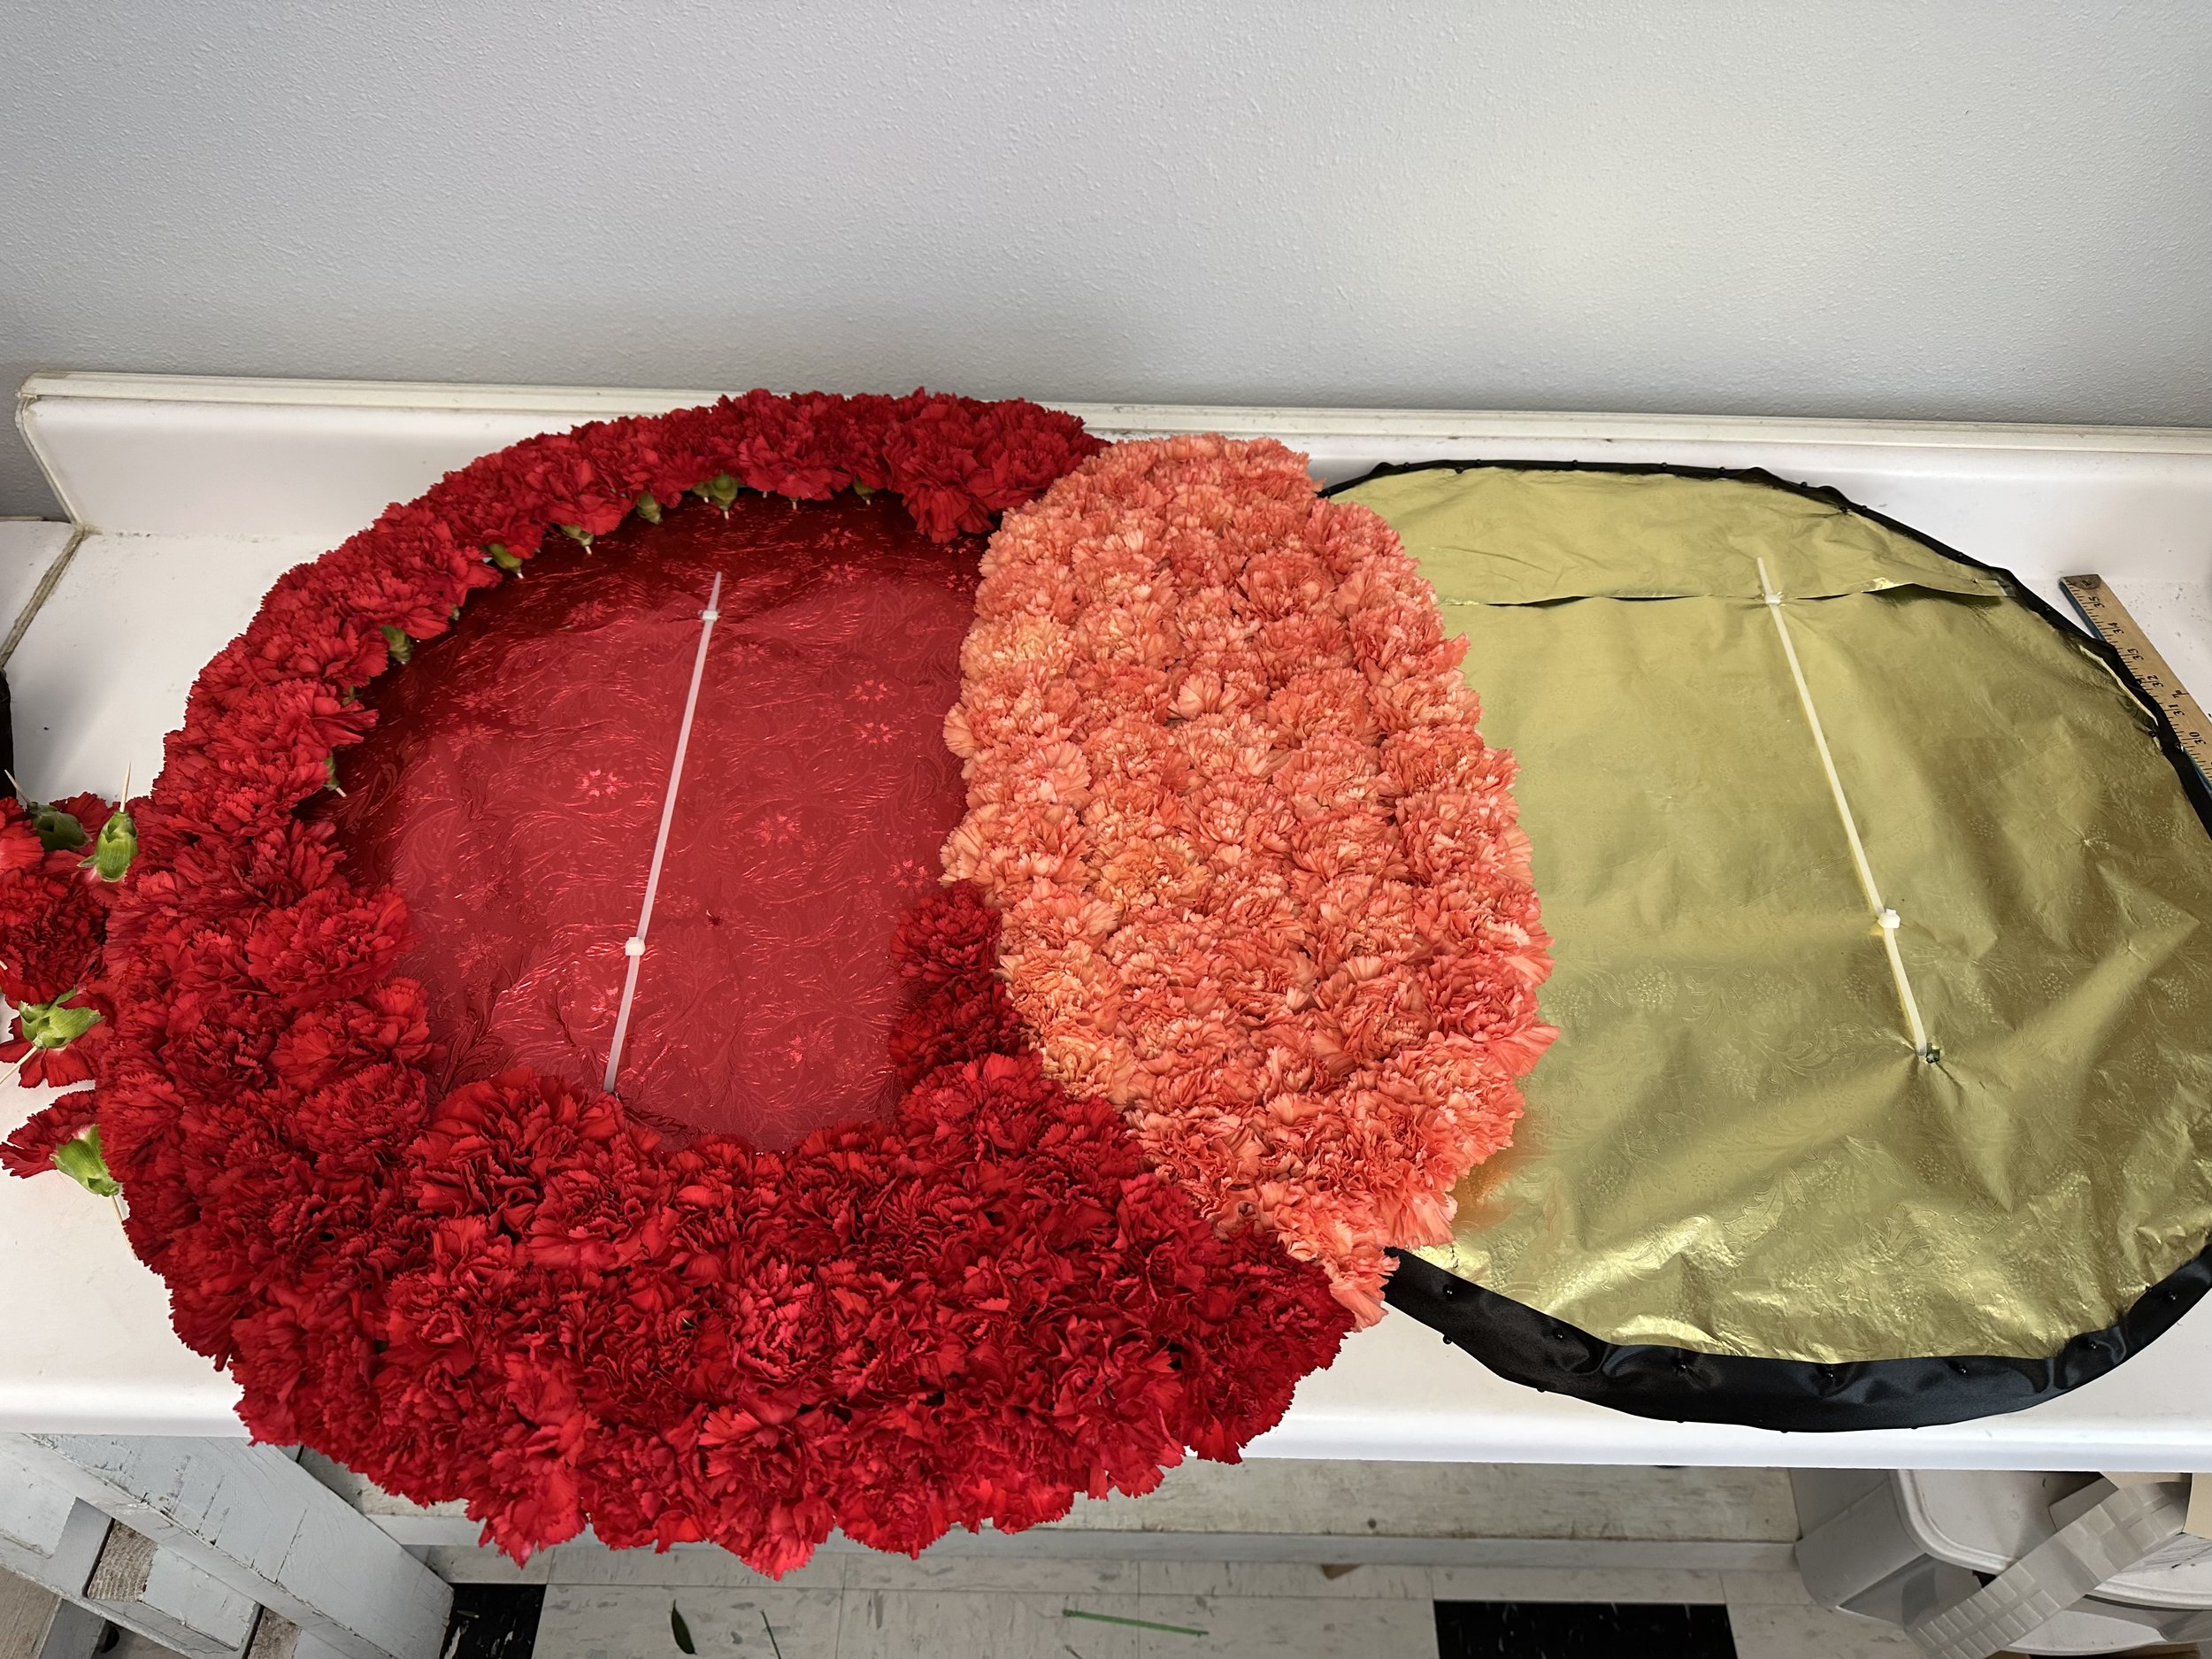
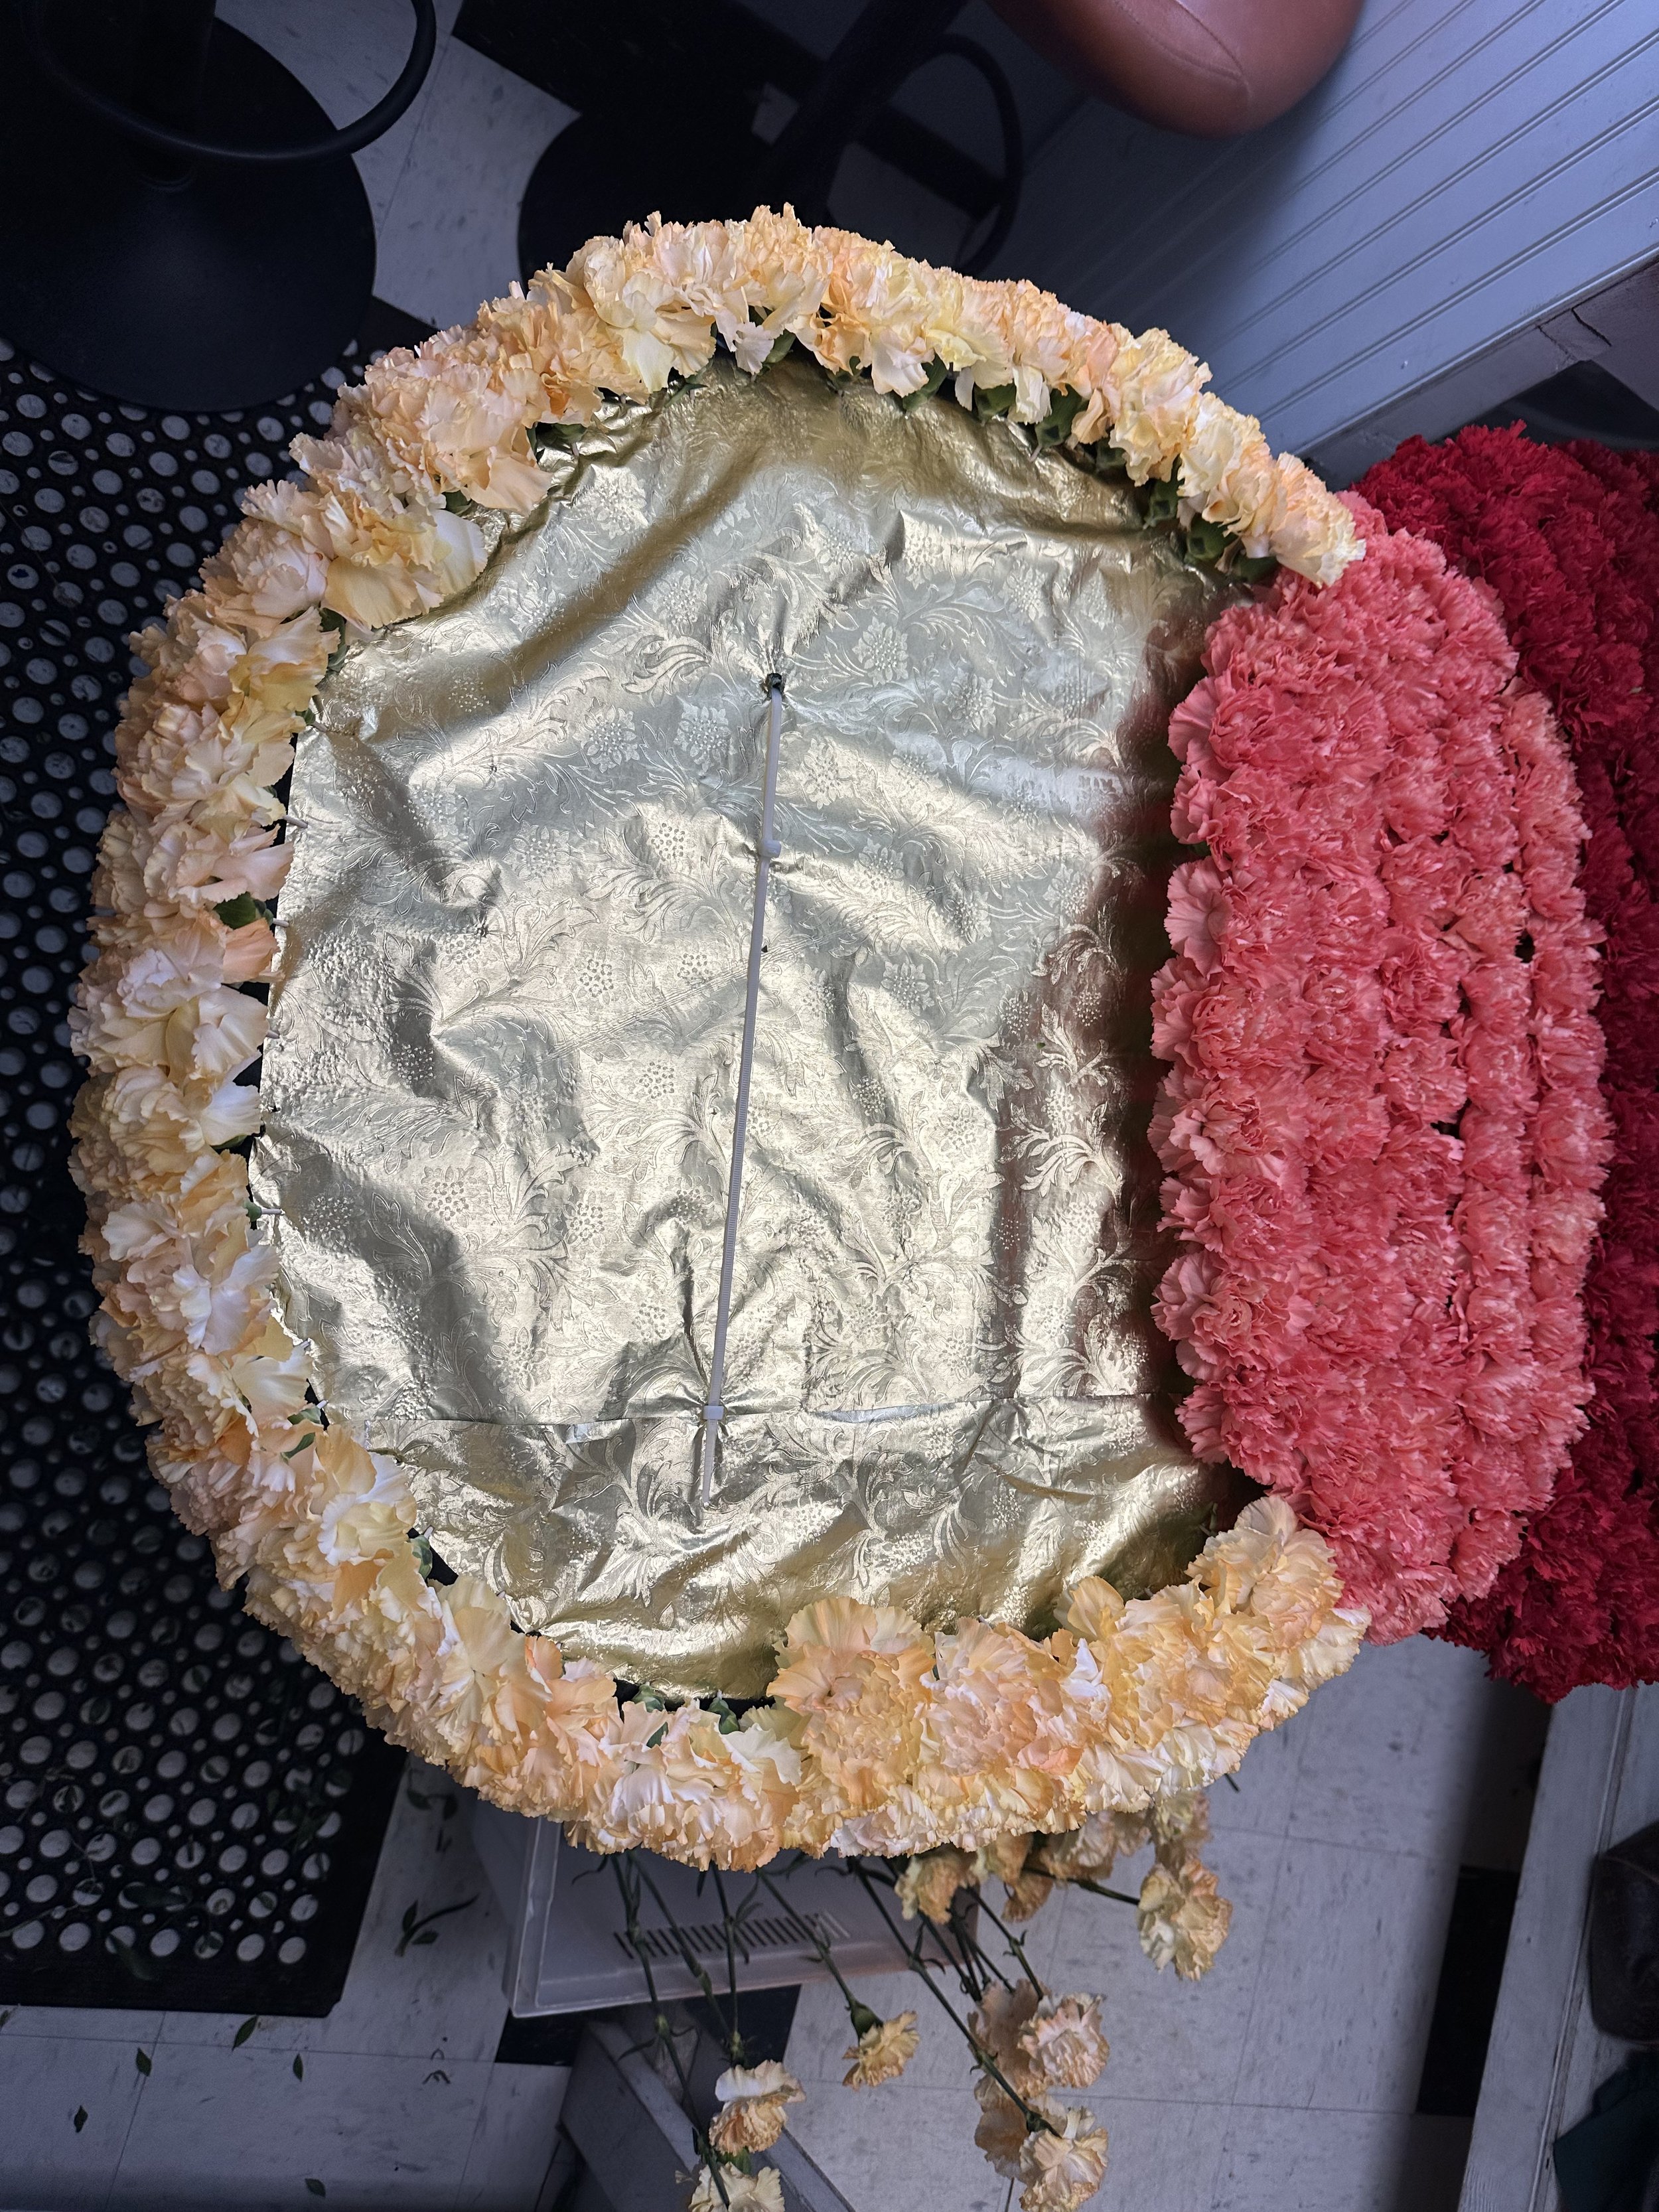
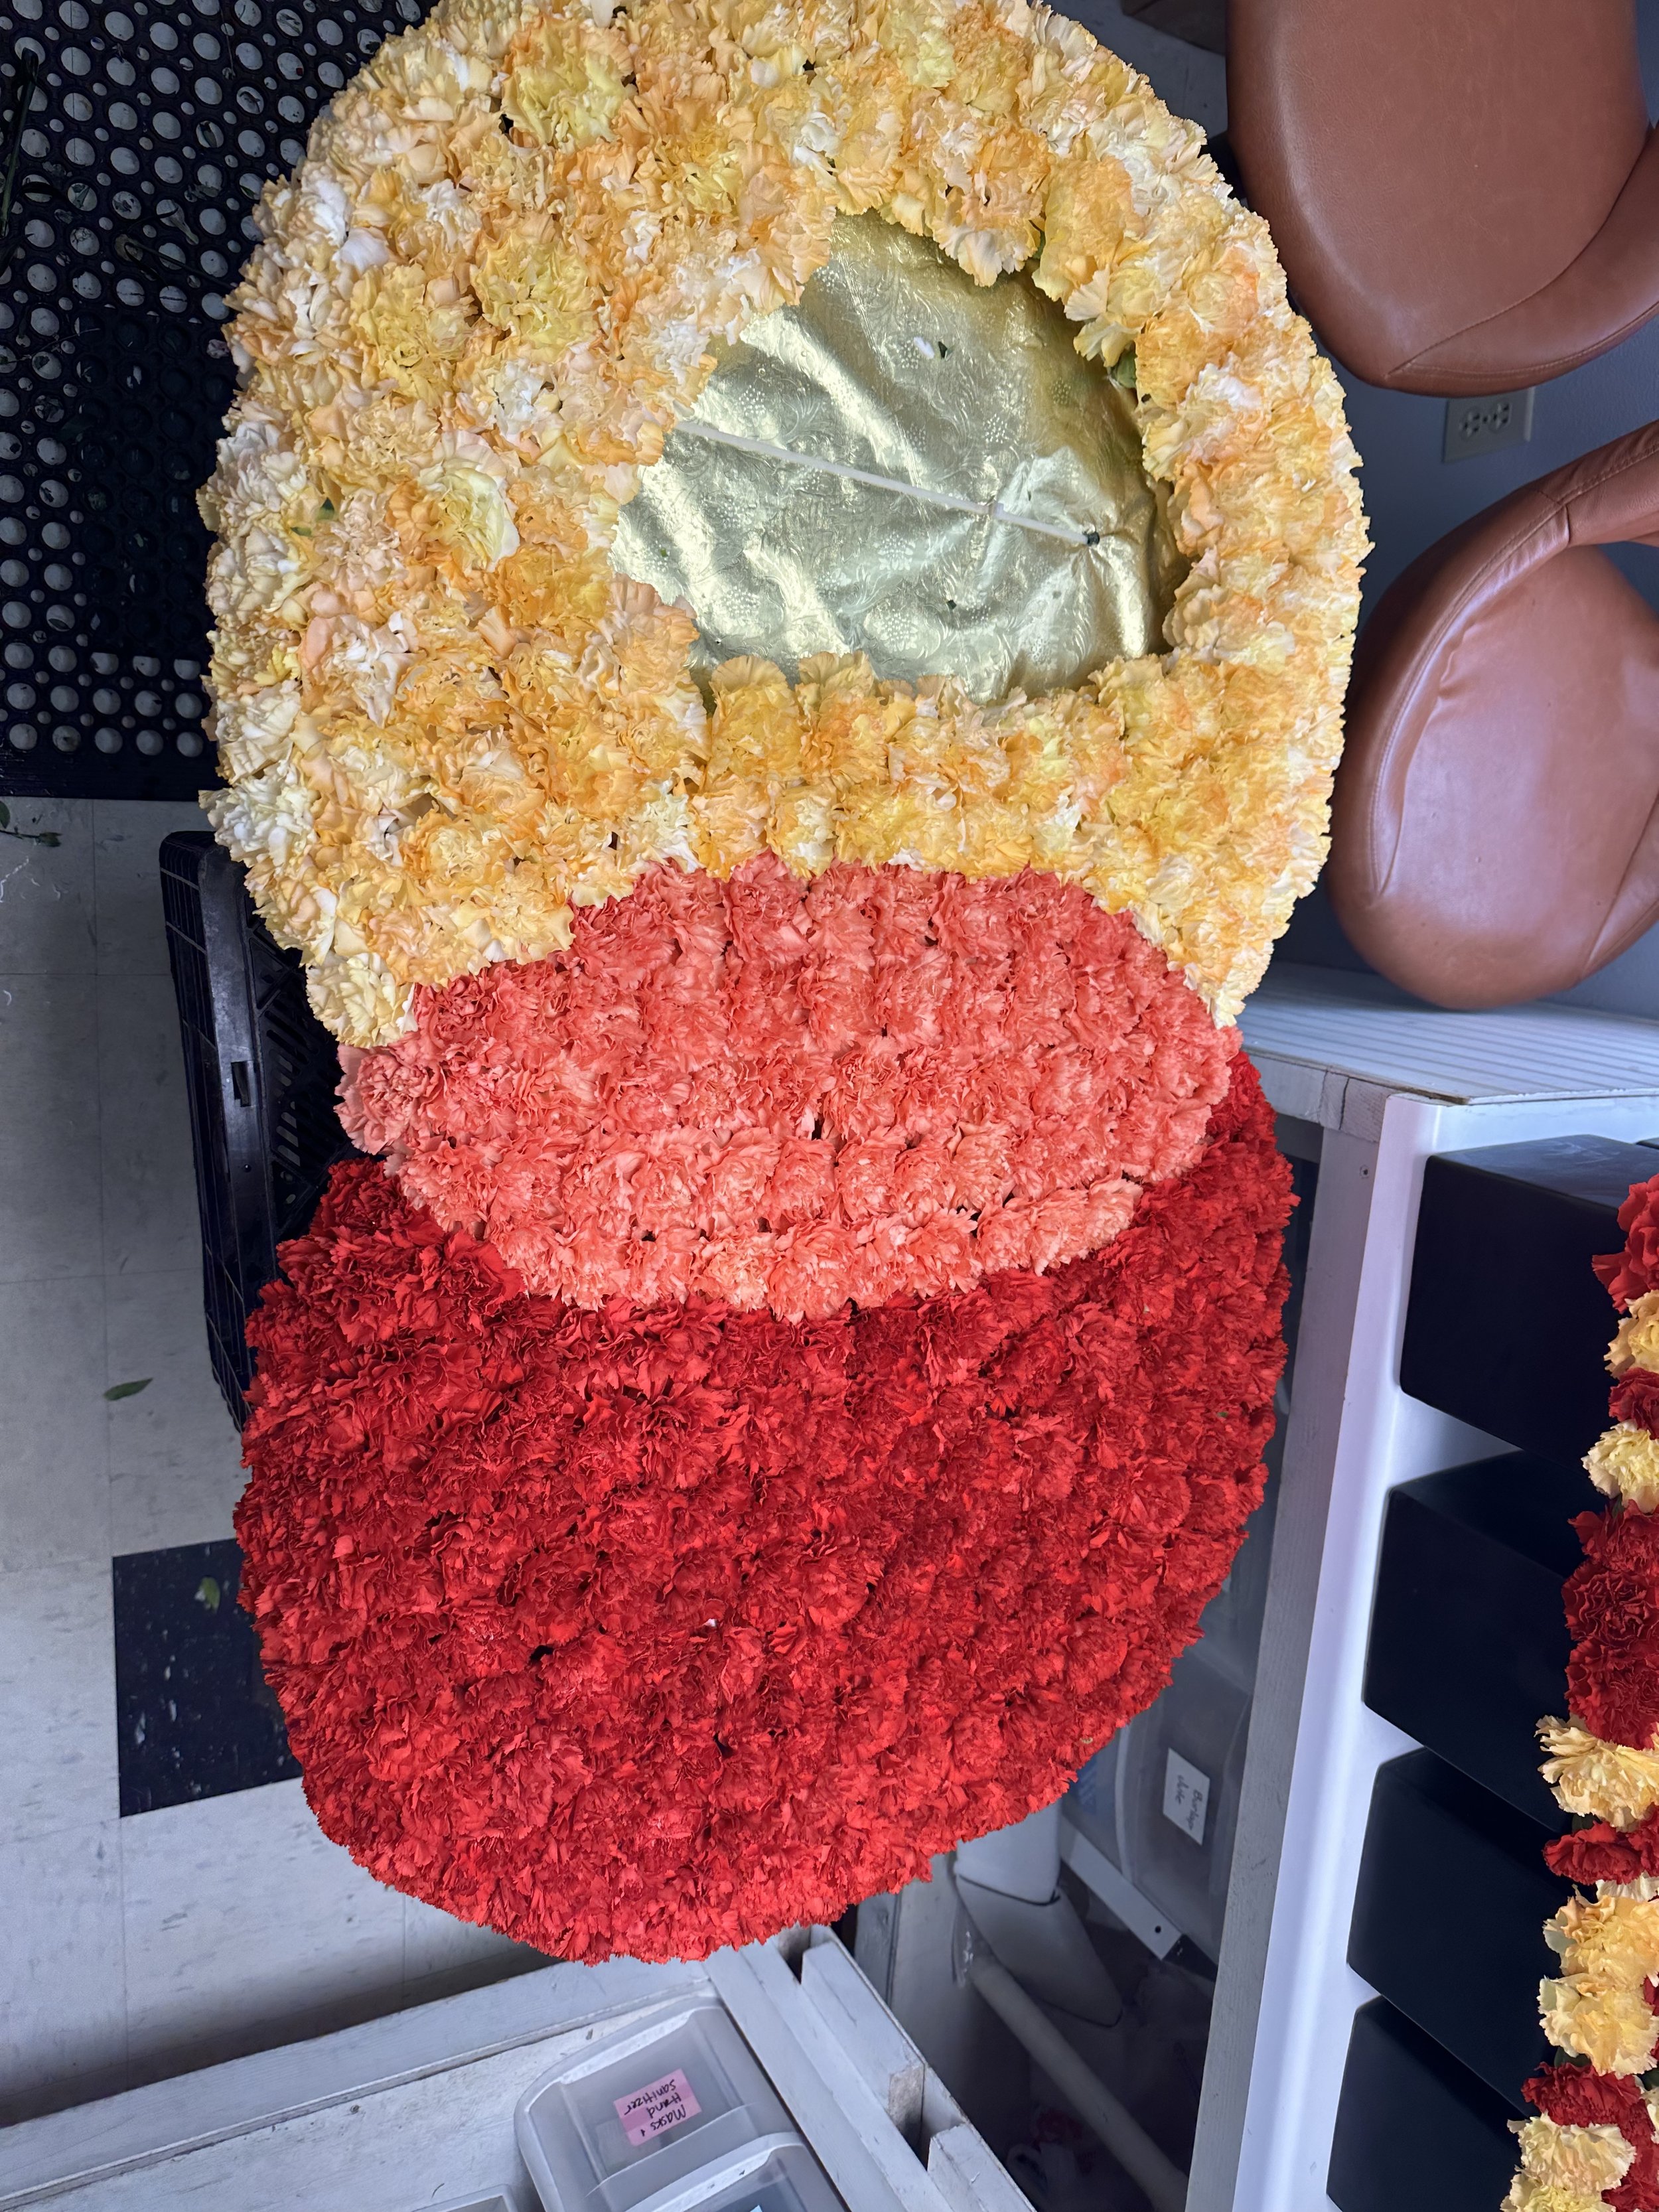
6. Placing the Flowers: Finally, we inserted the carnations with the toothpick into the Styrofoam. We placed them close together to ensure full coverage and a lush, full look.

7. Covering the Sides: We covered the sides of our logo with additional carnations. Don't forget to include these in your calculations when determining how many flowers you'll need. Alternatively, you could also cover the sides with ribbon.
8. Final Touches: Finally, we sprayed the completed piece with Crown & Glory to give it a finished look and help preserve the flowers.

Tips
During this project, we faced a minor setback when our order of gold-colored carnations did not arrive. However, we improvised by substituting them with white carnations and adding Design Master paint to get the correct color.


We suggest ordering about 10% extra to cover variations in sizes of flowers and any bad flowers.
For hanging the logo, we poked holes in the Styrofoam about 6" from the top and inserted zip ties. The event venue added hooks to the backdrop for hanging the piece.
After the event, we allowed the piece to sit in the studio and it lasted for 4 days before starting to fade. Don't be afraid to create these designs several days ahead of time!
And that's it! We hope this guide can help inspire you to create your own large floral logo. It's a creative and eye-catching way to display your brand at events or in photoshoots.
